This guide assumes you have a GitHub repository
GitHub Actions help you automate your software development workflows in the same place you store code and collaborate on pull requests and issues. You can write individual tasks, called actions, and combine them to create a custom workflow. Workflows are custom automated processes that you can set up in your repository to build, test, package, release, or deploy any code project on GitHub.
With GitHub Actions you can build end-to-end continuous integration (CI) and continuous deployment (CD) capabilities directly in your repository. GitHub Actions powers GitHub’s built-in continuous integration service
In this guide I will go through the process of creating a GitHub Action that does the following:
- Create a Ubuntu instance
- Install and configure a MySQL 5.7 service
- Install Node.js version 10, 12 and 14
- Install required node modules
- Set the AdonisJs enviroment
- Run migration
- Run test
Getting started
You need to create your workflow .yml file and it should be placed on .github/workflows folder. for example test_run.yml
test_run.yml contents
# This workflow will do a clean install of node dependencies, build the source code and run tests across different versions of node
# For more information see: https://help.github.com/actions/language-and-framework-guides/using-nodejs-with-github-actions

name: Adonisjs Automated Test

on:
  push:
    branches: [ master ]
  pull_request:
    branches: [ master ]

jobs:
  build:
    runs-on: ubuntu-latest
    services:
      mysql:
        image: mysql:5.7
        env:
            MYSQL_ROOT_PASSWORD: database_password
            MYSQL_DATABASE: database_name
        ports:
          - 33306:3306
        options: --health-cmd="mysqladmin ping" --health-interval=10s --health-timeout=5s --health-retries=3
    strategy:
      matrix:
        node-version: [10.x,12.x,14.x]

    steps:
    - uses: actions/checkout@v2
    - name: Use Node.js ${{ matrix.node-version }}
      uses: actions/setup-node@v1
      with:
        node-version: ${{ matrix.node-version }}
    - run: npm ci
    - run: cp .env.example .env
    - run: sudo service mysql restart
    - run: node ace migration:run
    - run: npm test
Here are the brief overview of what each section of the .yml
name: means the name of your workflow, this is also the name that will be shown at our badge on readme file, so I do prefer using “master”;on: means what will trigger our workflow, for example: push, pull_request, etc;push: means that it will trigger when someone pushes a commit into our branch;branches: this section you can filter which branches you want to execute this workflow when the trigger happens (no, you cannot trigger another branch which is not the one that you’re pushing in);jobs: jobs we will execute on this workflow;build: just the name of my job;runs-on: which environment we will run our job? Windows, Ubuntu or Mac? (you can also specify the version);steps: dividing by steps our job workflow, which is nice to separate and to result in a better visualization when we look at GitHub Actions UI;uses: this one I will explain in the below section, since I think it worth to write about it. But think of it like a import or a list of functionalities;steps.name: the name of our step;with: right below it we will write our parameters that ouruseswill need (or maybe optional parameters);run: the command that you want to run
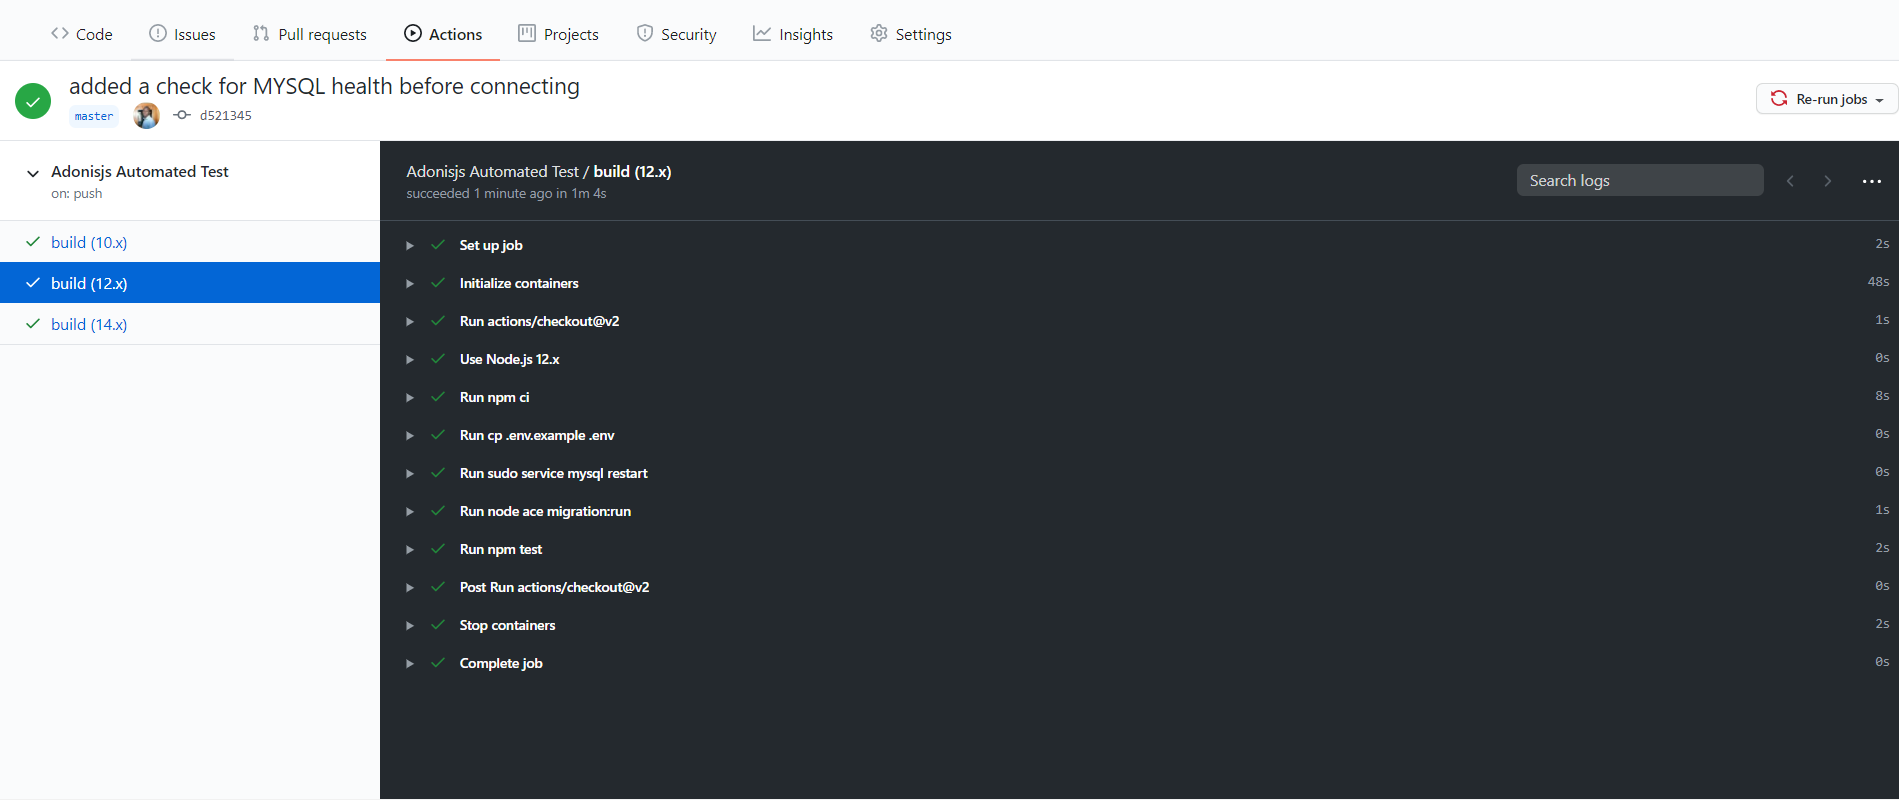
With the workflow in place, whenever code is pushed to the master branch or a pull request is made the workflow will run. Below is a screenshot of a successful run