Automating the deployment process is one of the many things a developer can do to improve productivity. When working on project you are likely to have a set of deployment environments for example testing, staging and production.
Using GitHub actions you can make process seamless by following these steps.
Step 1: Create the yml file
Inside your project folder create the folders /.github/workflows/ and add a file with name staging_deployment.yml or whatever you want as shown below:

Inside the file add the following text

Step 2: Add the secrets
Inside the .yml file there secret variables being used. It is VERY IMPORTANT that sensitive data should be taken as a secret so that it is not visible in the commit history.
To add the secrets click on the settings tab in on your repository page

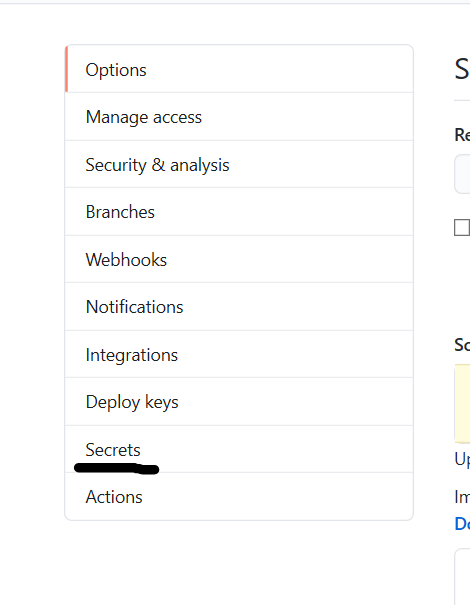
On the Settings tab select, click the Secrets link on the sidebar
Click the New Secret button

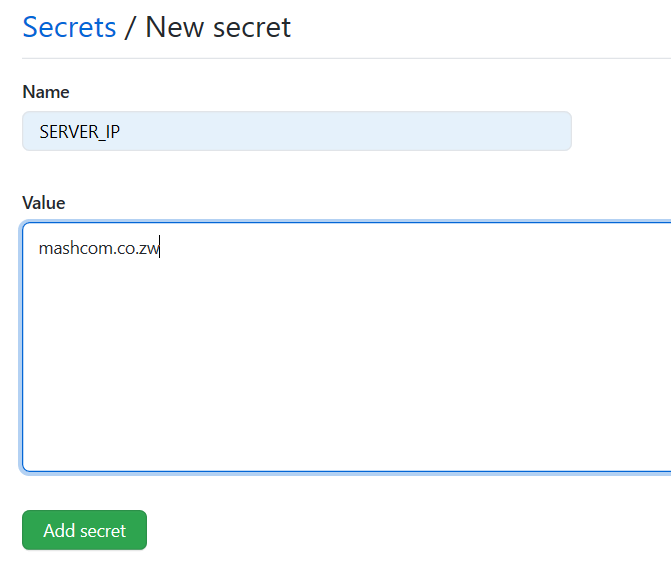
Enter the secret names and value one at a time
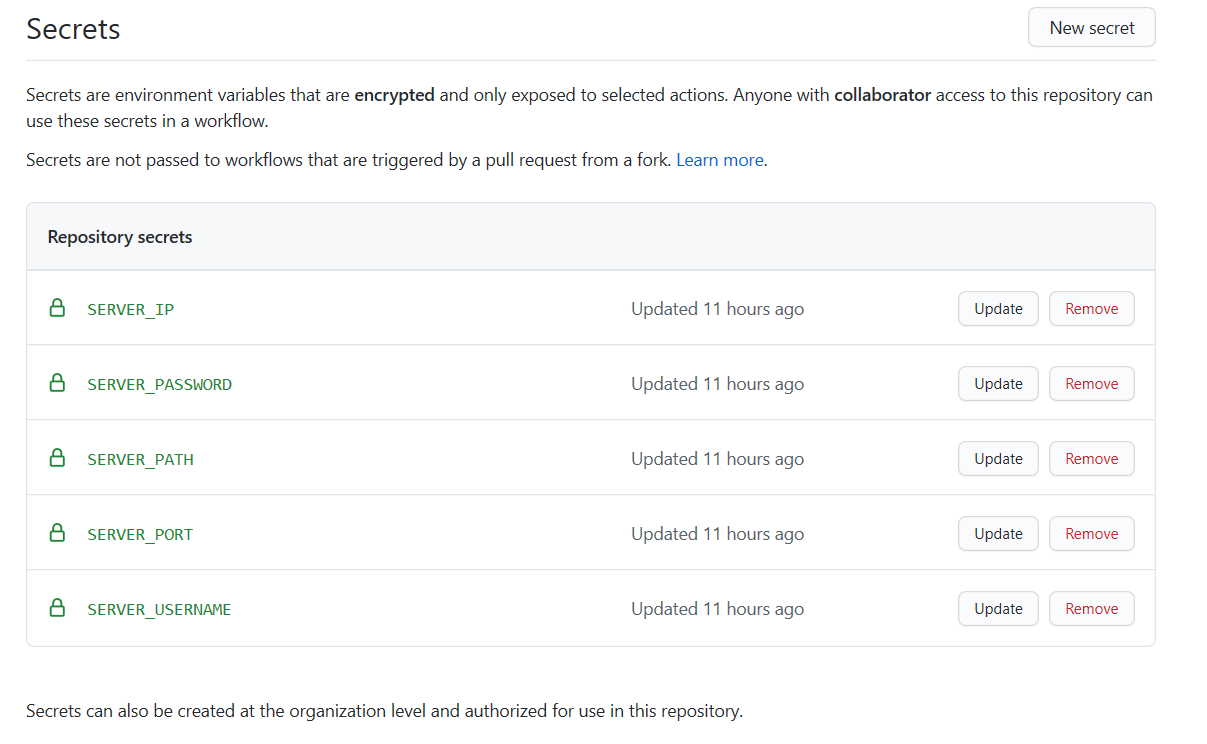
Finally your secrets page should like the example below
Step 3: Push some code
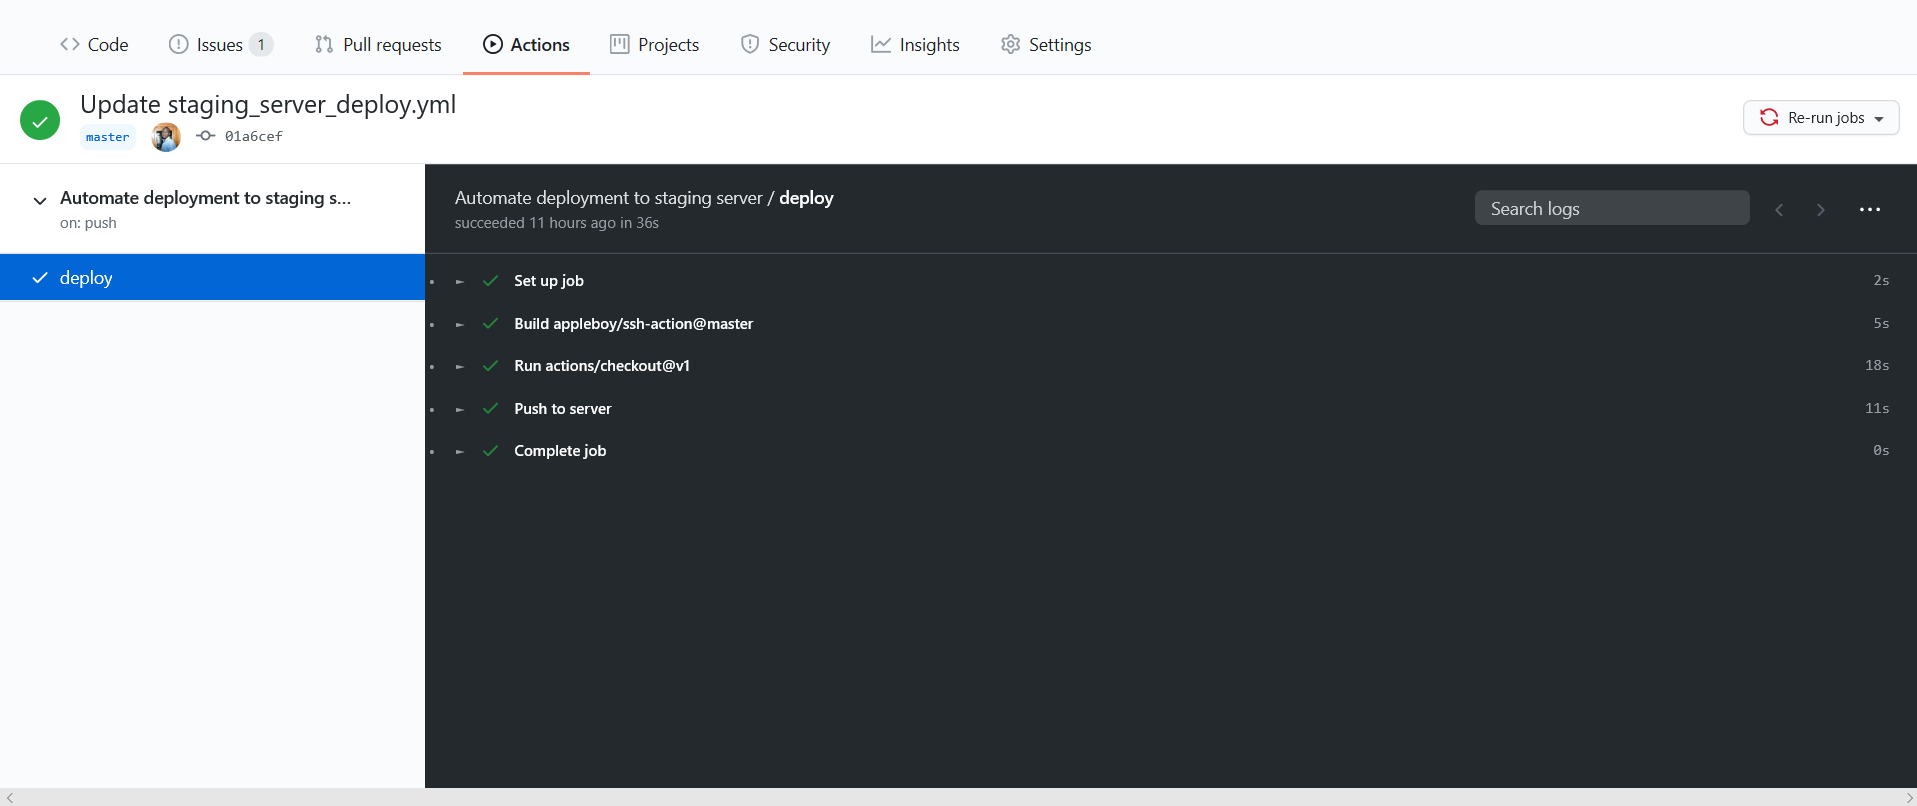
After adding the .yml file and adding the secrets, if you push code to the master branch the code will be automatically deployed to the a server via SSH. Below is a screenshot of a successful deployment
Conclusion
This is a very basic example of how GitHub Action can automate your workflow, there are countless things you can do such as testing, deploying etc
